Adding Plugin to a Unity Project
Learn how to add the SpellSync plugin to your Unity project.
The latest version of the plugin can be downloaded under the link.
The plugin works on Unity versions 2020 and higher.
Adding game to SpellSync control panel
Before you start installing the SpellSync plugin into your Unity project:
- Add a game in SpellSync control panel.
- Click the
Add gamebutton. - Go to the new window and give a name to the game and click
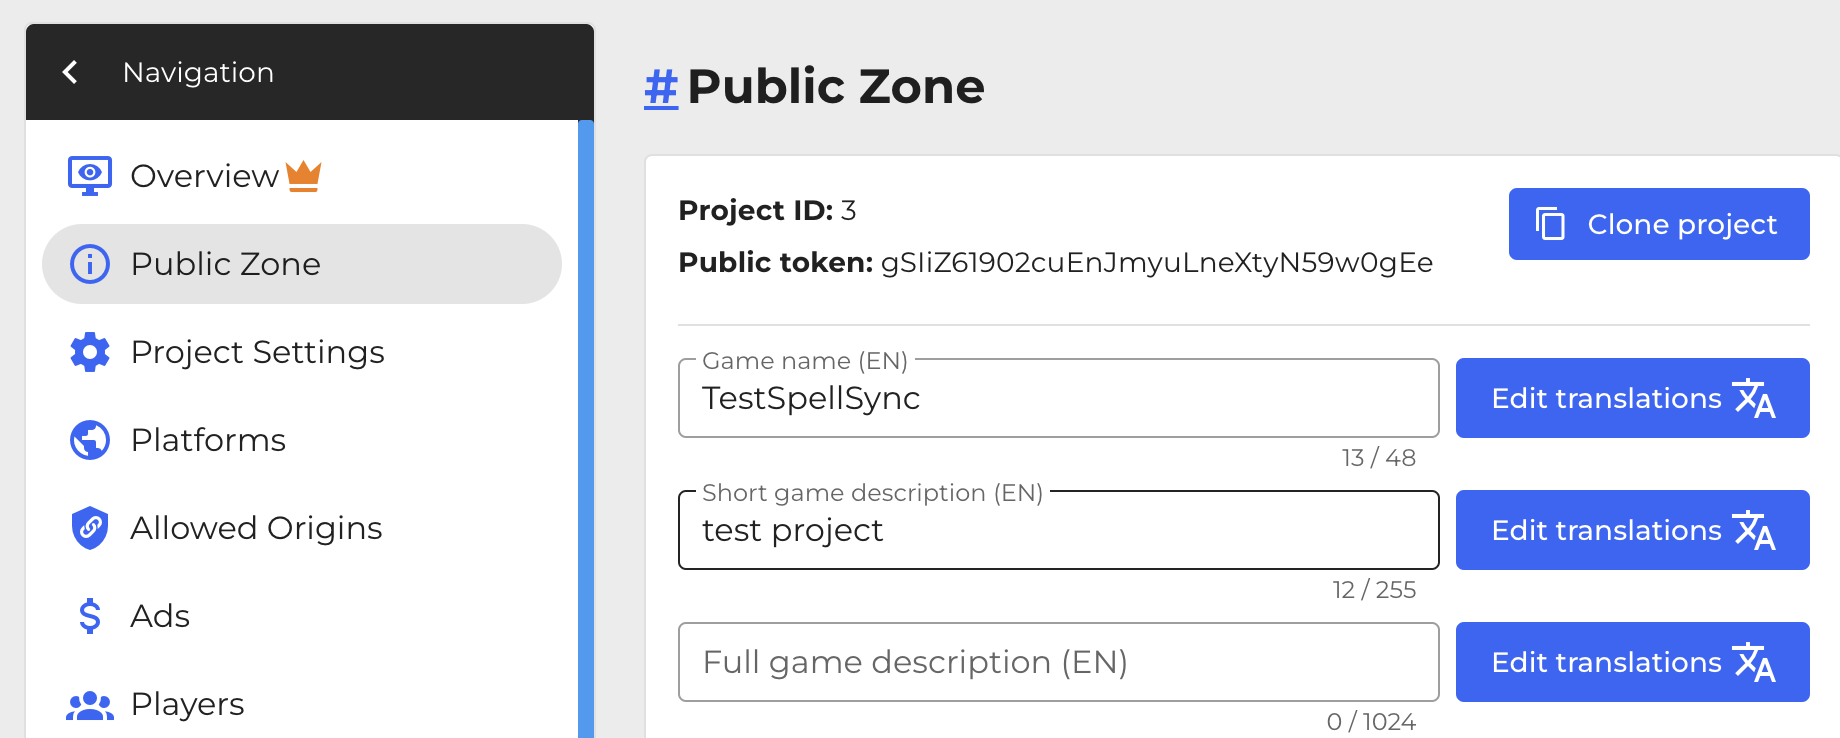
Add Gamebutton. After that you will get to the project interface. To add a project in Unity you will need:Project IDandPublic Key.

- Copy the
Project IDandPublic Keyto add them to your Unity project later.
Adding SpellSync plugin to Unity
Download unity package and download the latest version of the plugin.
To start working with SpellSync plugin in Unity, add it in the standard way like other packages and assets. In the top menu of Unity
Assets -> Import package -> Custom Package. Select theunitypackageof the plugin you downloaded earlier.In a new window, Unity will prompt you to import the contents of the package. Click
Importand wait for the process to finish. If everything is done correctly, theSpellSyncfolder will appear in theProjectwindow together with other project files.Once the SpellSync plugin has been added, you can use the plugin modules in the project.
Using SpellSync modules
Work with the plugin is done through modules, each of which is responsible for a separate functionality. All plugin modules are used from scripts.
To work with modules:
Add the SpellSync library via
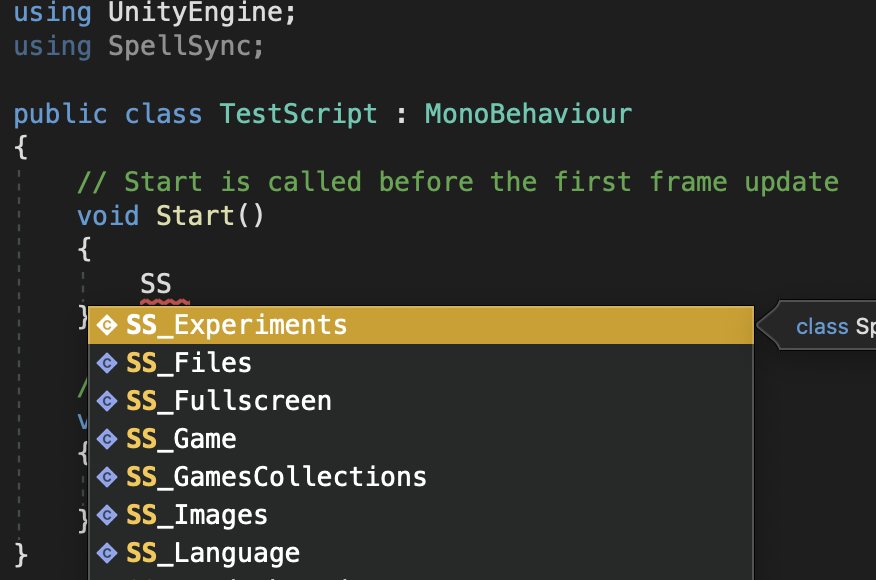
using SpellSync.Refer to the desired module. The name of all modules starts with
SS.

- To work correctly with the plugin, you must wait for its initialization before calling its methods. There is
SS_Initmodule for this purpose.
using UnityEngine;
// Add SpellSync Library
using SpellSync;

public class TestScript : MonoBehaviour
{
    // You can subscribe to the SS_Init.OnReady event
    private void OnEnable()
    {
        SS_Init.OnReady += OnPluginReady;
    }

    // You can wait for readiness via await SS_Init.Ready
    private async void Start()
    {
        await SS_Init.Ready;
        OnPluginReady();
    }

    // You can check the readiness via SS_Init.isReady
    private void CheckReady()
    {
        if(SS_Init.isReady)
        {
            OnPluginReady();
        }
    }

    private void OnPluginReady()
    {
        Debug.log("Plugin ready");
    }
}
Rewarded ad example (SS_Ads module)
using UnityEngine;

// Add SpellSync Library
using SpellSync;

public class AdsManager : MonoBehaviour
{
    // Subscribe to the SS_Ads.OnRewardedReward event;
    private void OnEnable()
    {
        SS_Ads.OnRewardedReward += OnRewarded;
    }

    private void OnDisable()
    {
        SS_Ads.OnRewardedReward -= OnRewarded;
    }

    // When calling the method, you can specify any text value
    // For example: COINS or GEMS
    private void ShowRewarded(string idOrTag)
    {
        SS_Ads.ShowRewarded(idOrTag);
    }

    // If you successfully view Reward ads
    // you can give a reward by checking the specified value:
    private void OnRewarded()
    {
        if (idOrTag == "COINS")
            Player.AddCoins(250);

        if (idOrTag == "GEMS")
            Player.AddGems(15);
    }
}
Configuring Unity project for building WebGL
To build a project for web platforms, you need to switch the target platform to WebGL in the Build Settings (if you do not have WebGL in the list of platforms, install the appropriate module for your version of Unity)
In the Unity project, open:
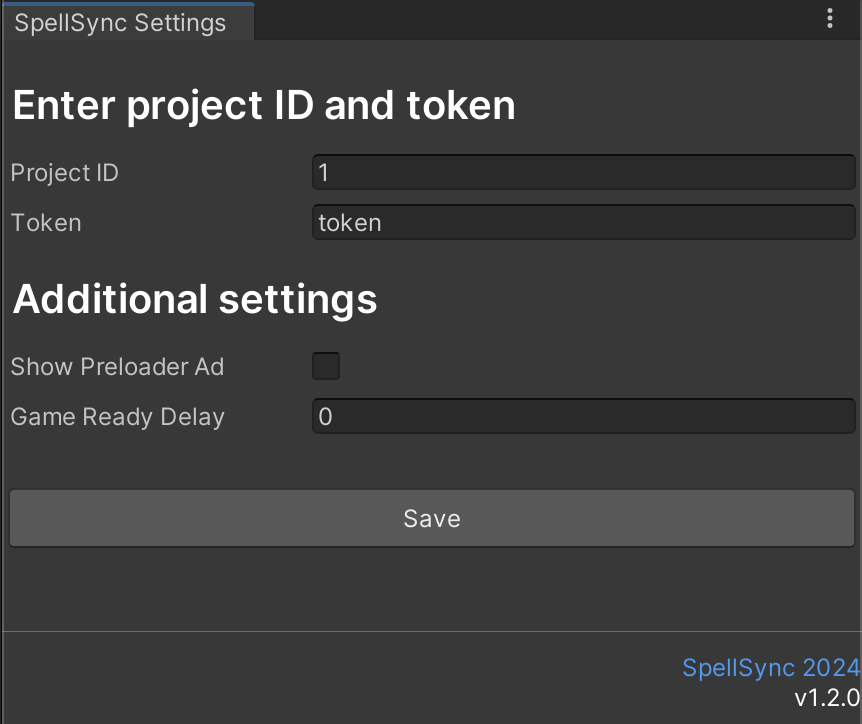
Tools->SpellSync.Specify the
Project IDandPublic Tokenof your project that you copied from the SpellSync control panel.
in the SpellSync control panel:

in the Unity project Project ID and Token:

If you want to show ads immediately when opening the game, then check
Show Preloader Ad.If you want to call the GameReady event automatically, specify the call delay in milliseconds in the
Gameready autocall delayfield. For example, for a 2-second delay (the Unity splash screen), specify 2000.After filling in the fields
Project ID,Tokenand additional settings, clickSave.Now you can run a build, with any WebGL template.
Useful information
To check if the ad is installed correctly:
In the Unity editor, stubs are substituted with the output of the necessary information in the Console. They look like this:

If errors appear in the Unity editor as:
EntryPointNotFoundException: ...
These methods of the plugin are not stubbed, and to check all the functionality of the plugin, you need to create a Build game and check it on the right site or on the hosting.
If there are problems on mobile devices:
Use Unity version 2022.3 or later. Versions 2021 and earlier do not have official WebGL support for mobile devices, and early versions of 2022 have issues with some mobile browsers.
If the project is not building or the game is loading endlessly:
Check the path of the project and its folders for non-English letters. The same with the name of the archive and folders in it - non-English letters, spaces and special characters can cause endless loading of the game.
The project uses WEBGL Template:
https://github.com/greggman/better-unity-webgl-template
The plugin inherits the hierarchy and naming convention from sdk, you can refer to the documentation for more information about methods work.
SpellSync Community (Telegram): SpellSync community
We wish you success!
Stay in Touch
Other documents of this chapter available Here. To get started, welcome to the Tutorials chapter.
SpellSync Community Telegram: @spellsync.
For your suggestions e-mail: [email protected]
We Wish you Success!